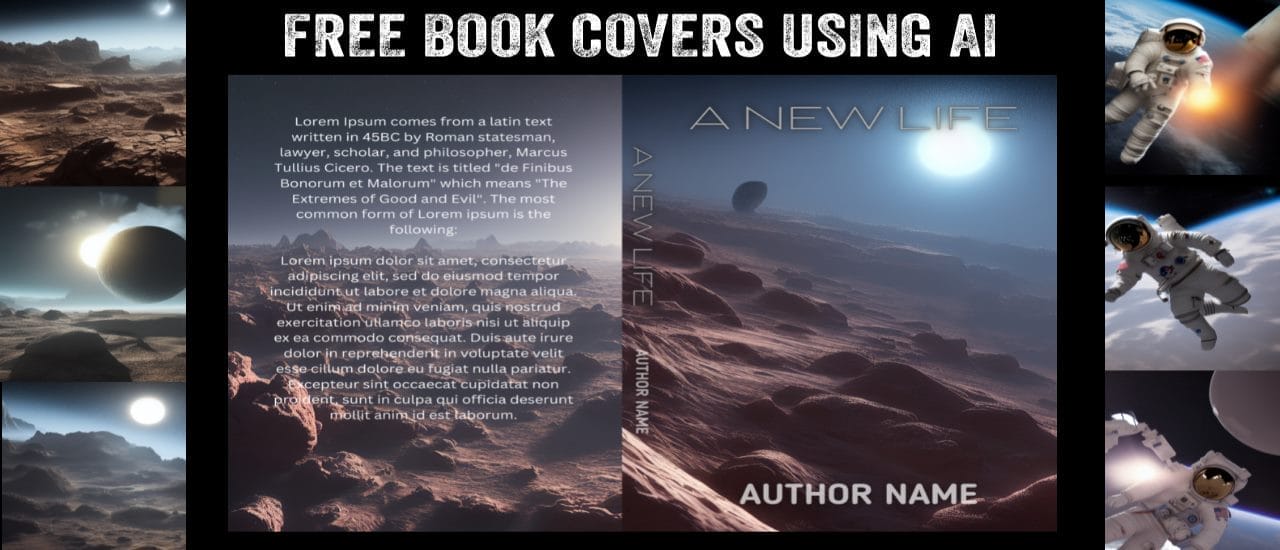
Using AI Images for KDP Covers – Tutorial: If you’ve written your own book and want to save money on creating a nice-looking cover, then keep reading. There are many places online where you can buy book covers or you can hire a designer to create one for you. But if you’re trying to save money and want to do it yourself, there’s now an easy way to do it using AI. Tools like Stable Diffusion, Midjourney and Dall-E can help you to create the hardest part of the book cover – the image. You can then use it to design your own book covers. Here’s how to do it.
Links To Tools
*** Tools For Creating Your Image ***
Dreamstudio (Stable Diffusion)
Supermachine (Stable Diffusion) – Lifetime Deal – Pay Once and get 750 Images Every Month
Spark
Riku
Midjourney
Dall-E
Jasper Art
*** Tools For Upscaling Your Images ***
Topaz Gigapixel
RealESRGAN
Upscale Media
*** Tools for Designing Your Cover ***
PaintNet
KDP Cover Calculator
Canva
*** Related YouTube Videos ***
Find Interesting Prompts for your AI Images
Install Stable Diffusion on your PC (1-Click Installation)
*** My Top KDP Tools ***
✏ Best Writing Tool – Scrivener
✏ Best Styling and Formatting Tool – Vellum
✏ Best Keyword and Category Tool – Publisher Rocket
Free Trials and Pricing
Stable Diffusion is completely free if you can run it on your computer. If your computer can’t handle it, you can always run it through Dream Studio, where for $10 you can make up to 1000 images. And if you have a Riku subscription, you can also buy some credits to use Riku’s Image AI, which is a more streamlined Stable Diffusion, where you’ll get 750 images for your $10. Midjourney gives you some free credits so you can test it out. You might even manage to make a usable image with your trial credits. When you run out of those credits, you can buy their $10 subscription, which lets you create up to 200 images per month, or you can get their $30 subscription, which lets you make an unlimited number of images.
Dall-E gives you 15 credits every month for free, which allows you to make 15 generations. Each generation will give you four images for a total of 60 images. For $15, in Dall-E, you can get 115 generations. Each generation will give you four images, so you’ll end up with 460 images for your $15. There’s also Jasper Art, which uses a more streamlined version of Dall-E. During their testing period, they’re charging $20 a month for unlimited generations. So if you’re planning on using Dall-E a lot every month, then this might be more economical. You also get access to the regular features of Jasper for creating written content. You’ll find links to all of these tools in the description.
Creating Your Images
With the right prompt, you can create some amazing-looking images for your book cover. I’ve been testing out all of these technologies, and for book covers I feel it’s best to avoid trying to use your main character on the cover. Human faces and clothing probably won’t be generated the exact way you want the character to look on the book cover. However, if you don’t mind spending the time to keep regenerating images, then perhaps you’ll find something that works. I’m sure in the near future we’ll be able to get much better results faster, but in the meantime, I think that objects and animals work much better.
For example, let’s say we want to create a cover for a sci-fi book that’s set in space. If we look at covers on Google or Amazon, we can see a number of book covers that use planets, space or astronauts. We can generate these types of images with any of the tools I mentioned earlier. Now, when we create our images, we need to make sure that they are high quality. A 512×512 image won’t work for book covers. It has the wrong dimensions and it won’t look good stretched. So we’ll need to choose better dimensions and then upscale it. So let’s run some prompts in Stable Diffusion. I’m going to run them all at 512×704 pixels to get rectangle images. If you book a thicker, then you might need to use 512×640.
These are some of the images we get back.
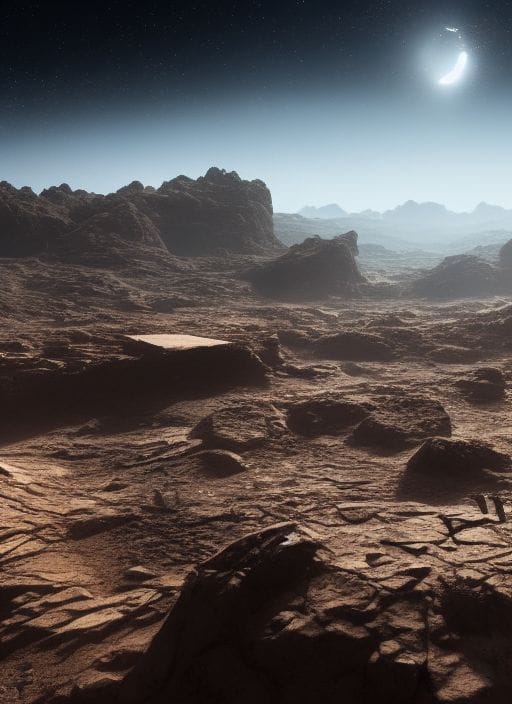
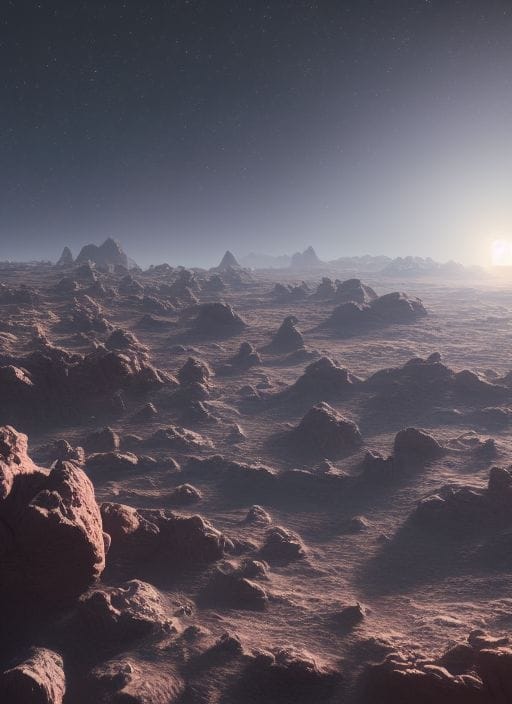
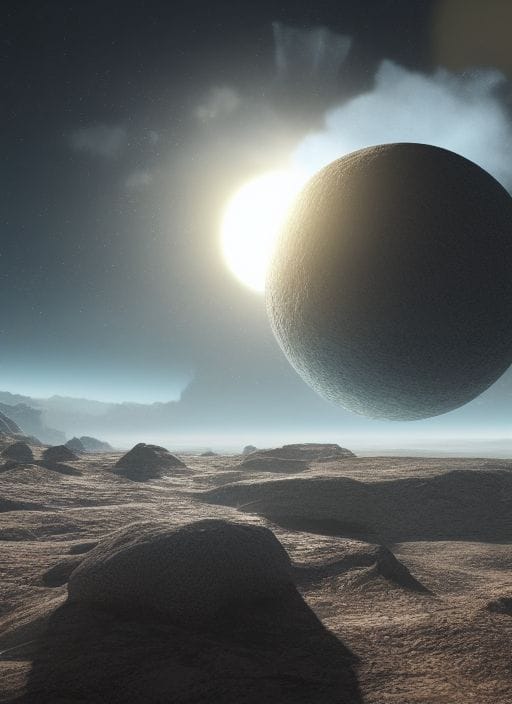
If you’re using Midjourney, then you’d have to provide it with an aspect ratio such as 2:3 in order to get a rectangle image. And in Dall-E, you would make a square image and then use the in-painting feature to add more to the top and bottom of the image. If you need some ideas for prompts, then check out our video on how to find the best prompts for your art.
Upscaling Your Images
Now we have a front and back cover. Though the dimensions of these images might not be ideal for print. I would prefer larger images that are of higher quality. To do this, we can upscale our images. If you were using Stable Diffusion installed on your computer and have a decent graphics card, then you could create much larger images or simply upscale them to four times their normal size from within the software. Upscaling using AI isn’t just stretching the image, it will actually add additional data to your image to make it look better and sharper. You can check out one of our previous videos if you want to know how to install Stable Diffusion on your computer. So if you don’t have it installed, you’d have to rely on one of the online AI image generators.
In Midjourney, you can upscale your images up to a 5 MB size, which will be plenty for a cover. But the maximum dimensions you can currently get in Dall-E and Dream Studio are 1024×1024 pixels. These aren’t too bad, but I’d still prefer a larger and sharper image. We can use an AI image upscaler such as Topaz Gigapixel AI or any other AI image upscaler. I like Gigapixel because it has a lot of options, so I can ensure that my image looks as good as possible.
It is a paid tool, but it’s a once-off fee and not a subscription, so it pays itself off pretty quickly. There are also free AI image upscalers online, such as Real ESRGAN, as well as many online providers. I’ll list some that I’ve tried in the description. Okay, so we’ve taken our 512×704 image and we’ve now upscaled it. It looks much better now. But before we can put our cover together, we will need to know the dimensions to create our cover at.
Designing Our Book Cover
There’s a handy KDP cover calculator that will help us with this. We just need to input some information about our book, calculate the dimensions, and download the template. Extract the template and take a look at the PNG file. We’re going to use these dimensions here to create our cover. You can use online software like Canva to do this. Create a new design at a custom size. Change the unit of measurement from pixels to inches – this is very important. And fill in the dimensions from your PNG image file.
We’ll add our image for the front cover first, and then we’ll add the image that we’ll use for our back cover and for the spine of the book. Now, just by looking at this design, there’s no way for us to see where the front cover ends and the spine of the book begins. So we’ll need to add our template in. Go back to your PNG file image template that we downloaded earlier and open it in your image editor of choice.
I’m going to use Paint Net. It’s a free tool that’s very easy to use. First, I’ll use the Rectangle Select Tool to select all the text I can see, then hit Delete to remove it. Then I’m going to choose the Magic Wand tool, lower the tolerance to about 30% and then click on the white parts of the image.
Once I’ve highlighted a section, I’ll hit Delete to remove it. Once my template doesn’t have any white space or text left, I’ll hit Save. Now make a new page in Canva and drag this template into it. I’ll expand this template until it touches all the edges of its page. And now, whenever I want to see where my front cover starts and ends, I simply copy my template from Page 2 with Ctrl+C and paste it over Page 1 with Ctrl+V.
This area is the front page. This is the spine of the book, and this is the back cover. Hit Delete to remove your template adjust your images and hit Ctrl+V to check again. Now we can adjust our images to fill in the spine and make it look good. The last thing we need to do is to add our book title, our book description (or Blurb), and our spine text.
When you’re done, you can download the PDF file for free in Canva. That’s it. You’ve created your own print book cover for a fraction of the cost you would pay a designer. In the description, I’ll also list my favorite tools that I use to write and rank my KDP books on Amazon. Best of luck.

