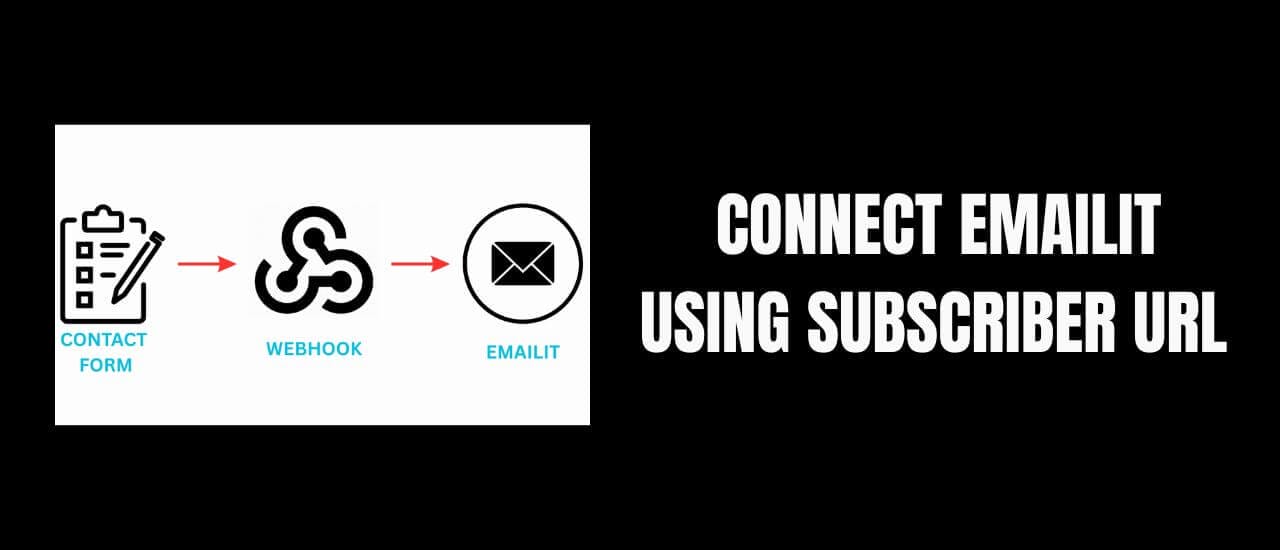
EmailIt is one of the most affordable email marketing platforms around — but doesn’t have built-in forms just yet. If you want to connect to webhooks using the Subscribe URL, here is a quick guide to get you started.
In this tutorial, you’ll learn how to connect Contact Form 7 (a free WordPress plugin) to Email It using IFTTT. This lets you collect emails effortlessly and take advantage of EmailIt’s lifetime deal, even before their form builder is launched…
🛠️ What You’ll Need
WordPress site
Contact Form 7 plugin (free)
CF7 to Webhook plugin (free)
IFTTT or other webhook tool (e.g., Taskade, Pabbly, etc)
EmailIt Lifetime Deal or Subscription
🔧 Step-by-Step Setup
1. Install Contact Form 7 and CF7 to Webhook
Go to Plugins > Add New
Search and install Contact Form 7
Then install CF7 to Webhook – this lets you send form data to a webhook
2. Create a New Form
Replace the default fields with this simplified version that Email It can understand:
<label> Your Email
    [email* email autocomplete:email] </label>

<label> First Name
    [text* first_name autocomplete:name] </label>

<label> Last Name
    [text* last_name autocomplete:name] </label>

[submit "Submit"]
✏️ These fields must use the exact identifiers: email, firstname, and lastname.
3. Fix Validation Issues
Switch to the Mail tab and update the identifier from “your-email” to “email”
This ensures the form doesn’t break due to mismatched identifiers.
🔗 Setting Up the Webhook with IFTTT (or Alternative)
You can choose from a number of Webhook options. I recommend the following:
If you’ve chosen IFTTT, here’s how to set it up:
1. Create a new Webhook Applet
2. For IF THIS, search for Webhooks, and use “Receive a web request with JSON” as the trigger
3. Choose a name for your automation without any spaces
4. For THEN THAT, search for Webhooks, and choose “Make a web request” as the action
5. Fill in the required info using the info below
🌐 Configuring the Webhook to Work with EmailIt
1. Get Your Subscribe URL In Email It
Go to Audiences
Click on the Subscribe URL
Copy it — you’ll use this as the webhook destination
Set Webhook Method and Headers
Method: POST
Content Type: application/json
Headers:
Authorization: Bearer YOUR_API_KEY
Content-Type: application/json
🔐 Create your API key under Credentials in Email It. It’s only shown once, so copy it immediately.
3. Configure the JSON Body
Click on Ingredients and choose {{JsonPayload}}
Hit Create and copy the final Webhook URL.
🔁 Connect the Webhook to Contact Form 7
Go back to your Contact Form
In the Webhook tab, paste your Webhook URL
Save changes
Then place your form shortcode on a page and publish it!
With more than fifteen years of blogging experience, I have contributed to numerous respected websites and publications. I am also the author of multiple books that have sold thousands of copies and currently lead a successful digital sales business. Writing remains my core passion, and I am dedicated to creating meaningful stories and insights that resonate deeply with readers.